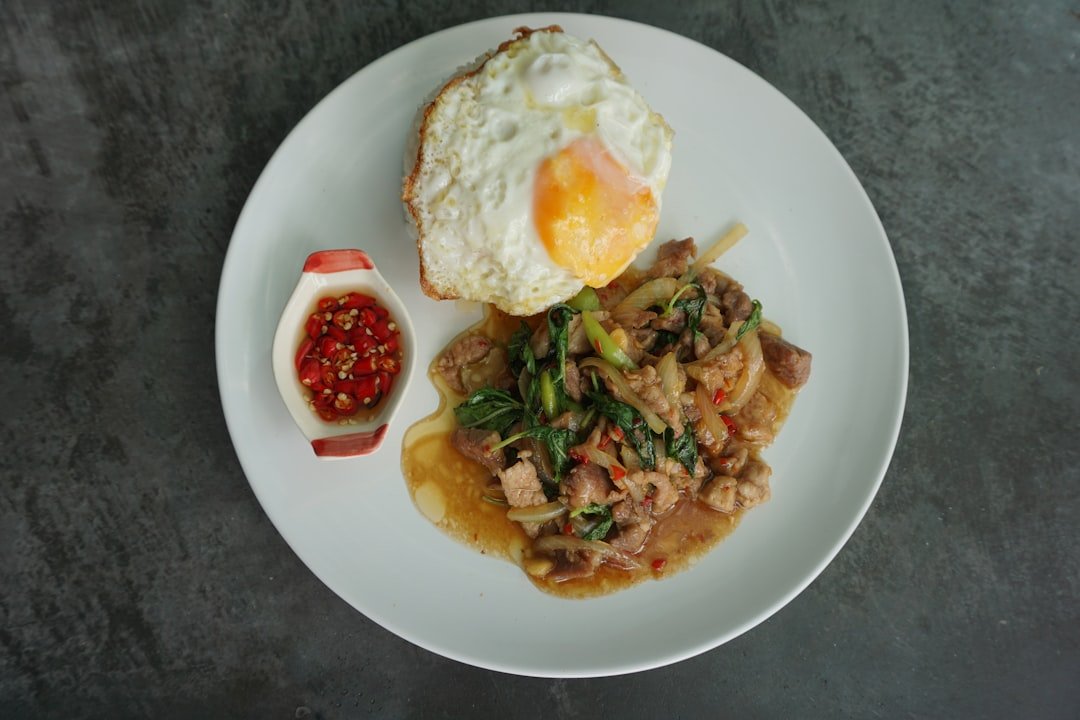
做法
- 先做酱汁:将罗望子膏、棕榈糖和鱼露在小锅中煮两分钟,直到糖溶化。味道应锐利地酸甜咸,平衡而不单调。备用。
- 炒锅烧至最热,加2大勺油。把豆腐丁煎至两面金黄,然后加大蒜和虾米炒十五秒。推到一边。
- 另一边下虾仁。煮九十秒至变粉,然后在旁边打入鸡蛋,凝固十秒后轻轻打散。
- 沥干泡好的米粉,加入锅中。倒入酱汁。猛烈翻拌——米粉应在九十秒内从白色变成琥珀色,变得油亮。如果粘锅,加一勺热水。
- 加入豆芽和韭菜。只翻炒十秒——它们应保持脆嫩,不要变软。
- 盛盘。撒上压碎的花生。配青柠角和辣椒粉上桌——每位泰国食客都会在桌上自己调整。
Common questions
Can 泰式炒粉 be made ahead?
泰式炒粉 is best made and eaten the same day, but the components can be prepped earlier — chop and measure the ingredients up to a day ahead, refrigerated separately. Final cooking takes about 8 minutes.
Is 泰式炒粉 spicy?
泰式炒粉 as written is mild to mildly warming — the heat comes from aromatics rather than chili. Add fresh sliced chili or chili oil at the end if you'd like to push it spicier.
Is 泰式炒粉 vegetarian or gluten-free?
This recipe is naturally gluten-free as written.
How hard is 泰式炒粉 to make at home?
泰式炒粉 sits at intermediate difficulty — total time about 28 minutes. The ingredients are not unusual but the timing requires attention.
Can 泰式炒粉 be scaled up or down?
This recipe is written for 2 servings. To scale, multiply each ingredient proportionally; the cooking times stay the same up to about double the volume. Beyond that, expect to cook in batches because of pan size and heat distribution.
文化背景
泰式炒粉是1940年代銮披汶元帅推广的国菜——既是民族建设,也是战时节约大米的政策——以推广面食。'正宗'之争其实比这道菜本身要新得多。一盘好炒粉的标志:面条油润不黏腻,每根都裹着酱汁;豆芽仍脆;在花生和青柠之前,酱汁本身就已平衡四味。街头摊贩的炒锅烧到500°C——家用灶台达不到,但少量分炒会有帮助。